Clogged pores. Dullness that won’t quit. Flaky patches next to oil slicks—it’s maddening. Harsh scrubs or acids leave your skin raw, irritated, or worse—compromised. Here’s the fix: enzyme exfoliation facial treatment. No abrasion. No burning sensation. Just intelligent, surface-level renewal that respects your barrier.
Why Traditional Exfoliation Keeps Failing You
Physical scrubs? They’re sandpaper in disguise—micro-tearing your stratum corneum with jagged particles. Chemical peels? Often overkill for daily maintenance, stripping ceramides and triggering rebound oil production.
And let’s be honest: most “gentle” products are just weak versions of harsh actives disguised with soothing aloe. They don’t solve the core issue—they mask it.
The real problem isn’t dead skin cells. It’s the method you’re using to remove them. Your skin doesn’t need force. It needs precision.
How to Perform an Enzyme Exfoliation Facial Treatment at Home (The Right Way)
This isn’t slapping on a papaya mask and calling it a day. Real enzyme exfoliation hinges on timing, pH, and activation. Get it wrong, and you’re wasting product—and patience.
Step 1: Cleanse Without Stripping
Use a sulfate-free, pH-balanced cleanser. Hot water? Skip it. Lukewarm only. Your goal: remove surface oil without disrupting the acid mantle.
Step 2: Activate the Enzymes Properly
Most fruit enzymes (like papain from papaya or bromelain from pineapple) work best between pH 4.5–6.0. Apply to damp—not dripping—skin. Dry skin slows enzymatic activity. Too wet? You dilute the formula.
Step 3: Time It Like a Pro
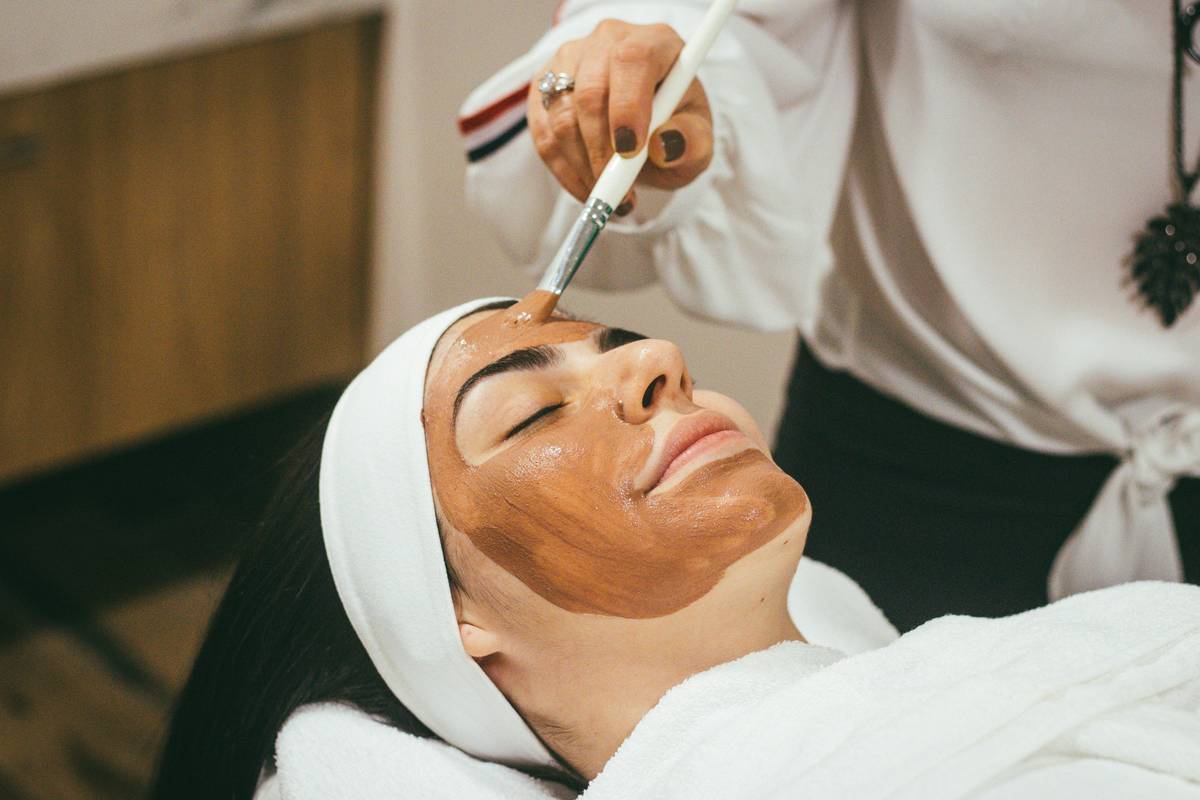
Leave it on for 5–10 minutes—max. Longer isn’t better. Enzymes self-deactivate once they’ve consumed available keratin proteins. Over-application just dries out the top layer unnecessarily.
Step 4: Rinse, Don’t Rub
Use cool water. Gently splash—no washcloths, no circular motions. Pat dry. Follow immediately with a hydrating serum and barrier-supporting moisturizer.
| Exfoliation Method | Active Mechanism | Ideal For | Risk of Irritation | Frequency |
|---|---|---|---|---|
| Enzyme Exfoliation Facial Treatment | Proteolytic enzymes digest dead keratin | Sensitive, reactive, acne-prone skin | Very Low | 2–3x/week |
| AHA (Glycolic/Lactic) | Dissolves intercellular “glue” | Dry, sun-damaged skin | Moderate to High | 1–2x/week |
| BHA (Salicylic Acid) | Oil-soluble penetration into pores | Oily, congested skin | Moderate | Every other day |
| Physical Scrubs | Mechanical abrasion | Thick, resilient skin (rare) | High | Once/week (not recommended) |
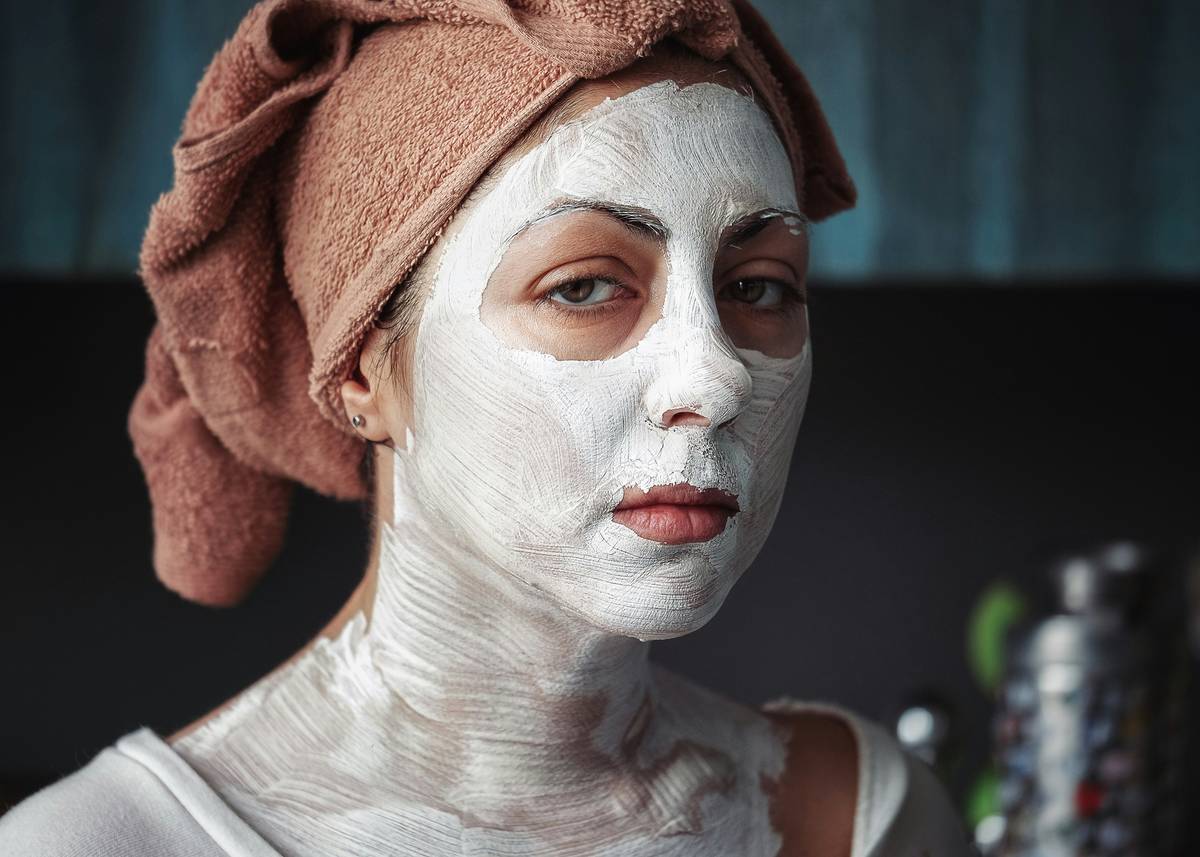
The Industry Secret No Brand Wants You to Know
Here’s what formulators won’t admit: most store-bought “enzyme masks” are inactive powders mixed with water-based gels that never reach optimal pH. They’re shelf-stable—but functionally inert. The magic happens when enzymes contact live keratin in the right environment. Many products fail that basic test.
But there’s a workaround: fresh, DIY blends. Think mashed papaya + plain yogurt (lactic acid gently lowers pH to activate papain). Or pineapple juice mixed with honey (bromelain + humectant action). It’s not “clean beauty” hype—it’s biochemistry you can control.
Professionals in Tokyo and Seoul have used this for decades. Not as a trend—but as protocol. And yes, it beats $120 jars labeled “bio-fermented enzyme complex.”
Frequently Asked Questions
Can enzyme exfoliation replace chemical peels?
For maintenance and sensitivity—yes. For deep pigmentation or scarring—no. Enzymes work only on the very top layer. They’re preventive, not corrective.
Is enzyme exfoliation safe for rosacea?
Often, yes—when formulated correctly. Avoid citrus-based enzymes (too acidic). Opt for pumpkin or fig enzymes, which are milder and less likely to trigger flushing.
How soon will I see results from an enzyme exfoliation facial treatment?
Instantly. Your skin reflects light better post-treatment—more glow, less shadow in pores. Consistent use over 2–3 weeks refines texture long-term.