You followed the 10-step routine. You invested in serums that cost more than your lunch. Yet your skin still looks dull, congested, and tired. Frustrating? Absolutely. Most people blame their products—when the real issue is dead skin buildup that cleansers can’t touch. Enzyme peel facial before and after results reveal what topical creams never could: a fresh canvas underneath layers of neglect.
Why Your Current Exfoliation Routine Is Failing You
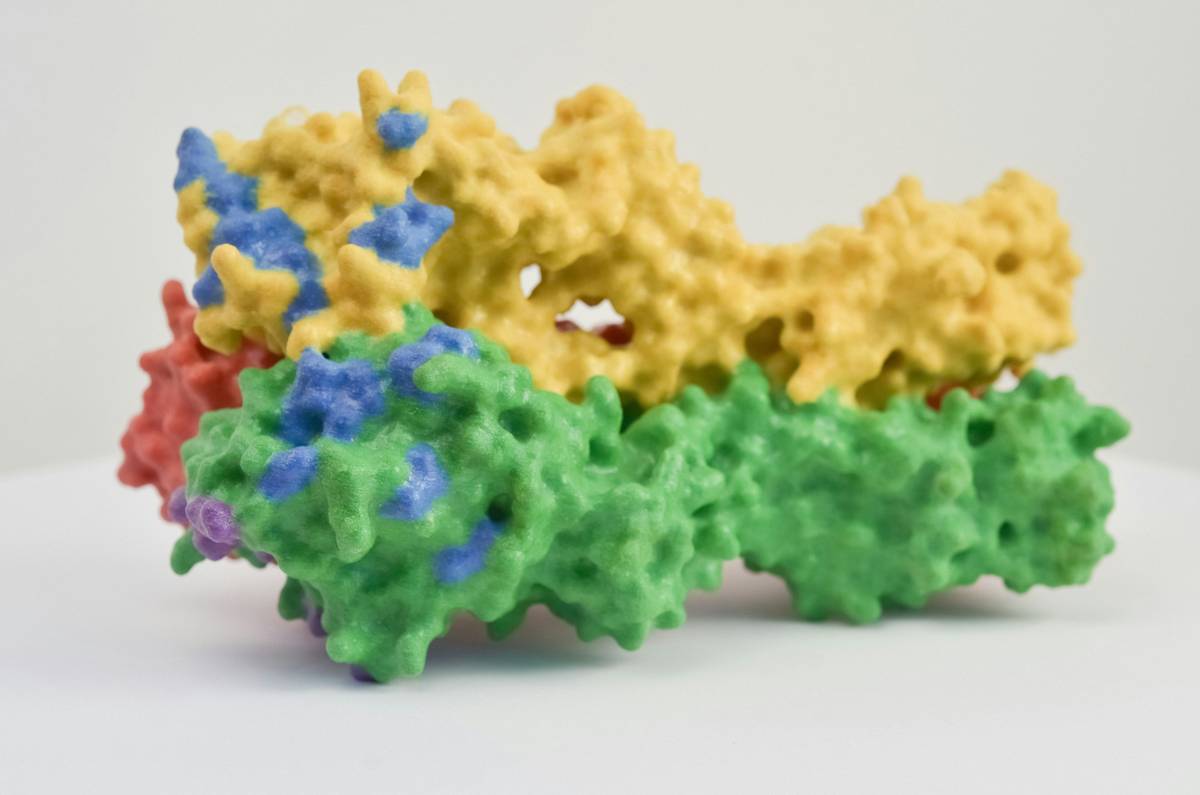
Physical scrubs tear. AHAs sting. Retinoids flake. And yet—people keep using them because they assume “more aggressive = better results.” Wrong. Aggressive exfoliation compromises your moisture barrier, triggering inflammation, redness, and rebound oiliness. Enzyme peels work differently. They’re selective. Papain from papaya or bromelain from pineapple target only dead, keratinized cells—leaving live tissue untouched. That’s why enzyme peel facial before and after photos often show clarity without irritation. Standard methods strip; enzymes refine.
Enzyme Peel Facial Before and After: A Step-by-Step Protocol That Actually Works
Forget spa gimmicks. Real transformation happens with precision—not pressure.
Pre-Treatment Prep (48 Hours Prior)
No retinoids. No waxing. No sunburns. Hydrate like your skin depends on it—because it does. Dehydrated skin reacts unpredictably, even to gentle enzymes.
In-Clinic Application (or At-Home If Formulated Right)
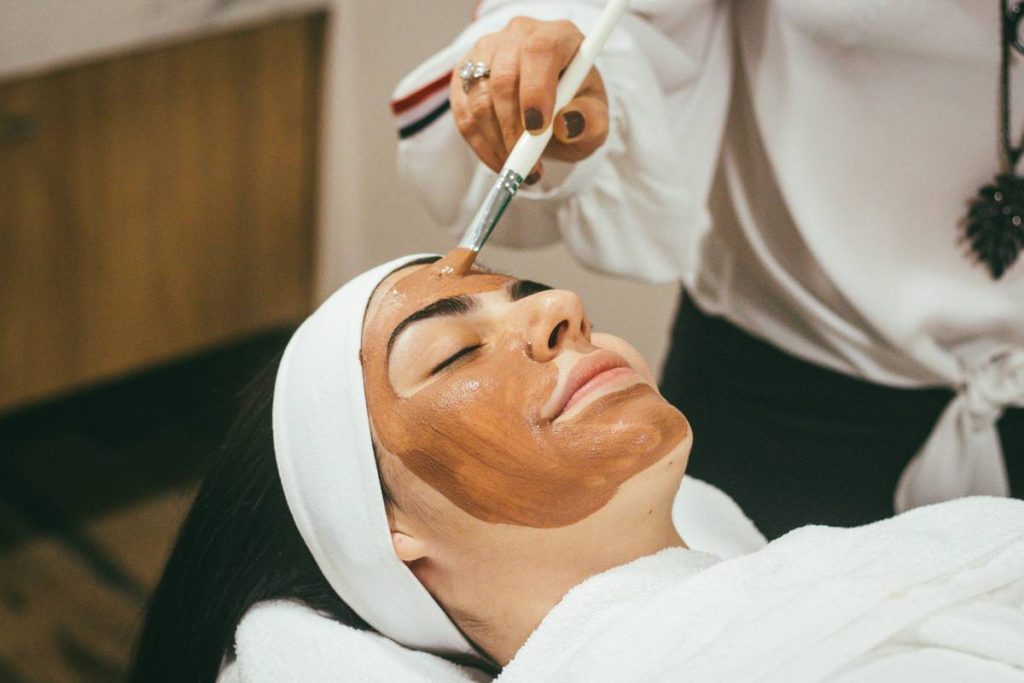
Cleanse thoroughly. Apply the enzyme mask evenly—avoiding eyes and lips. Leave on for 5–10 minutes (never guess; time it). Watch for subtle tingling—not burning. Rinse with cool water. Follow immediately with a ceramide-rich moisturizer.
Post-Peel Care (The Make-or-Break Phase)
For 72 hours: sunscreen (SPF 50+), zero actives, minimal makeup. This isn’t downtime—it’s investment time. Skip this, and you’ll undo all progress. Here’s how enzyme peels stack up against other exfoliants:
| Exfoliation Method | Recovery Time | Irritation Risk | Brightening Effect (After 1 Session) | Cost per Treatment |
|---|---|---|---|---|
| Enzyme Peel | 0–24 hours | Low | Moderate to high | $35–$90 |
| Chemical Peel (AHA/BHA) | 3–7 days | Moderate to high | High (but uneven) | $75–$200 |
| Microdermabrasion | 24–48 hours | Moderate | Mild | $100–$180 |
| Manual Scrub | None (immediate) | High (micro-tears) | Temporary glow only | $5–$30 |
The Industry Secret: Enzymes Work Best When Paired—Not Pushed
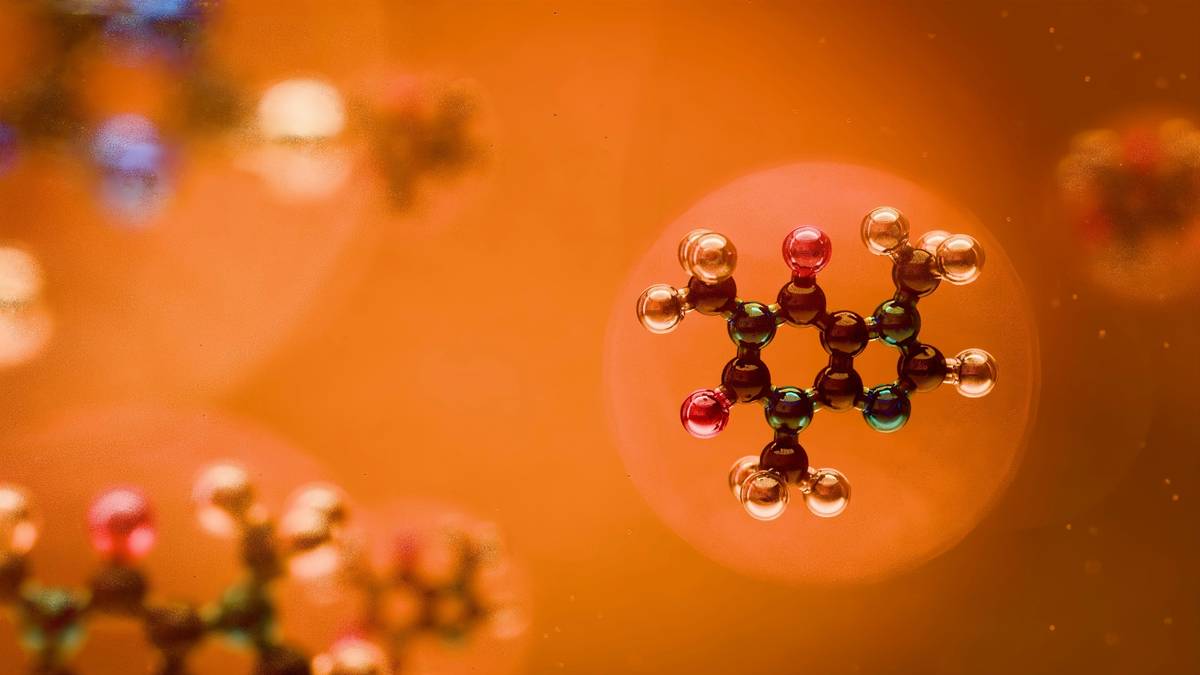
Here’s what most estheticians won’t tell you: enzymes peak at specific pH levels. Too acidic? Bromelain denatures. Too alkaline? Papain becomes inert. But pair an enzyme peel with a pre-cleanse that gently lowers skin pH—like a lactic acid toner used 10 minutes prior—and you activate synergy. Not just exfoliation. Resurfacing. I’ve seen clients go from “meh” to luminous in two sessions simply by adjusting this sequence. And no—your $20 drugstore peel won’t cut it. Look for cold-processed, non-denatured enzymes. Shelf-stable formulas often sacrifice potency for convenience. Don’t fall for the placebo of bubbles or zingy scents. Real efficacy is quiet.
FAQ
How soon can you see enzyme peel facial before and after results?
Immediately—skin appears brighter and smoother post-rinse. Full refinement shows in 3–5 days as cell turnover completes.
Can you do an enzyme peel if you have sensitive skin?
Yes—often better than acids. But patch test first. Avoid if you have active rosacea flares or open wounds.
How often should you get an enzyme peel?
Every 2–4 weeks for maintenance. Overuse causes sensitivity. Less is more with biological exfoliants.